OUR BLOG
- All
- Audio & Displays
- Auto Body
- Brakes
- Ceramic Pro
- Customer Spotlight
- Engine Performance
- Graphics Wrap
- Lighting
- Liquid Wrap
- News
- Off Road
- Paint
- Paint Protection
- Performance
- Restoration
- Suspension
- Upholstery
- Vinyl Wrap
- Wheels
- Window Tinting
Tempe, Arizona’s Custom Car Shop
Whether your vehicle needs some body work or you have a vision to build your dream car, our doors are open.
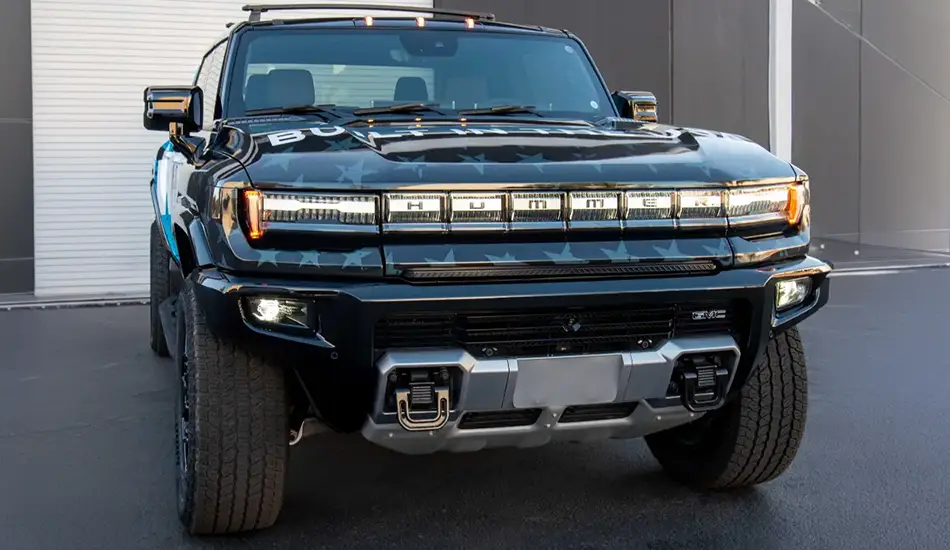
America’s 250th Birthday & American Made Cars
As we celebrate America’s 250th birthday, we’re proud to honor the craftsmanship, innovation, and performance that have defined American-made vehicles for generations such as this custom 2025 GMC Hummer EV featured above. 💙
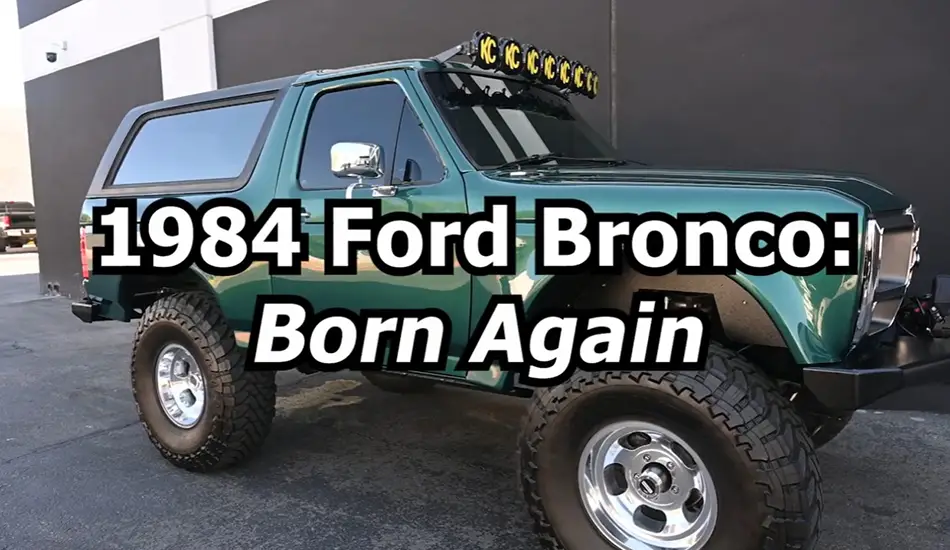
1984 Ford Bronco: 2-Year Build
After nearly two years in the shop, this 1984 Ford Bronco is finally ready to…
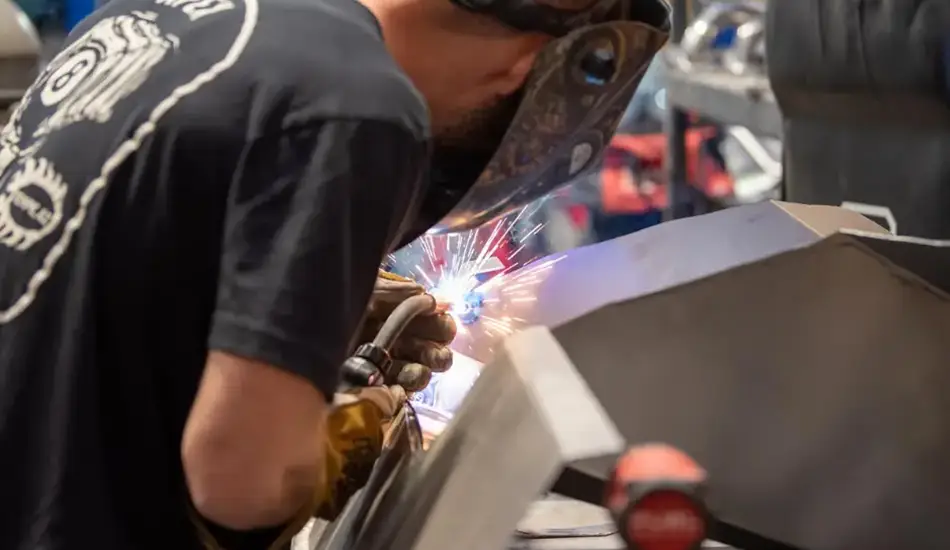
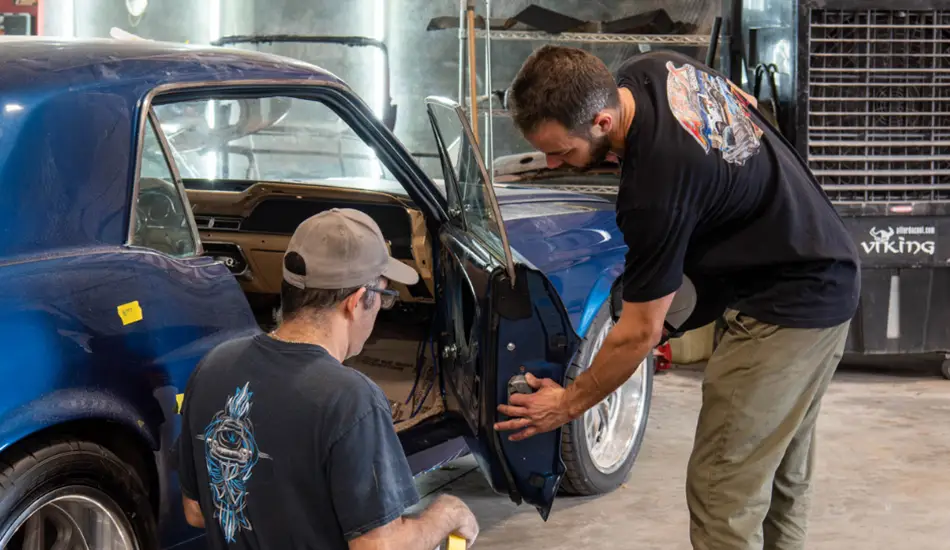
Full Service Auto Shop: Make Your Appointment Today
We’re always working on new projects in the shop and whether it’s restorations, custom upgrades or just maintenace we do it all.

The Summer Heat VS Your Vehicle
Arizona summer heat doesn’t just make your drive uncomfortable — it puts serious stress on…
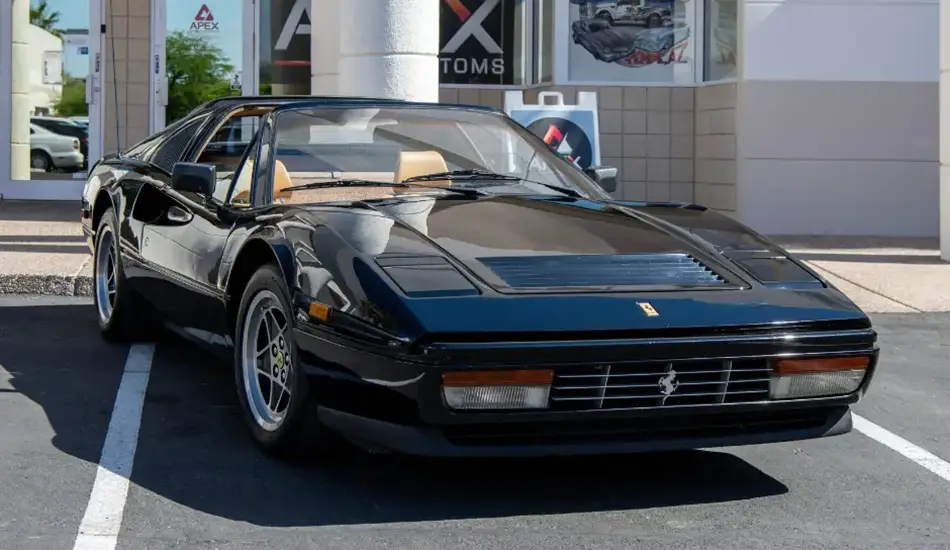
1986 Ferrari 328 GTS Black
This 1986 Ferrari 328 GTS already had the presence—now it has the finish to match 🔥
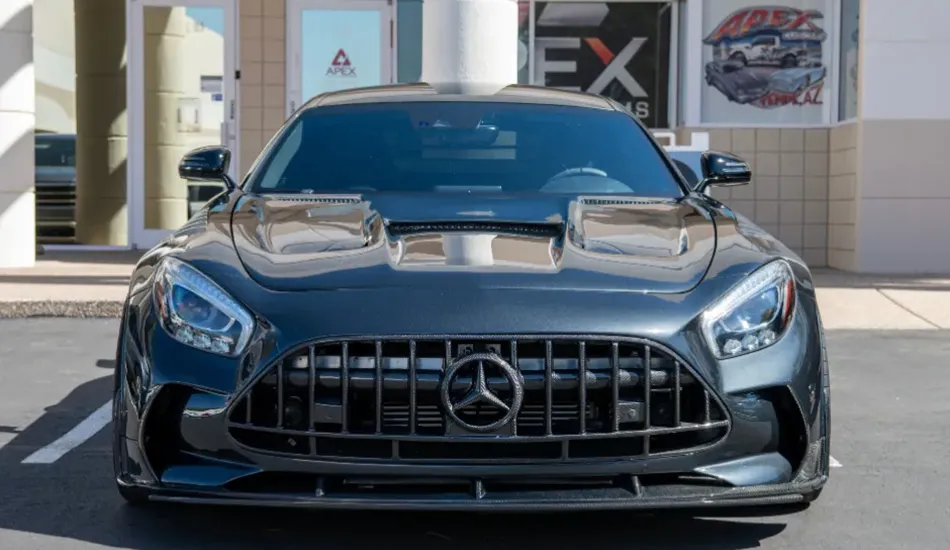
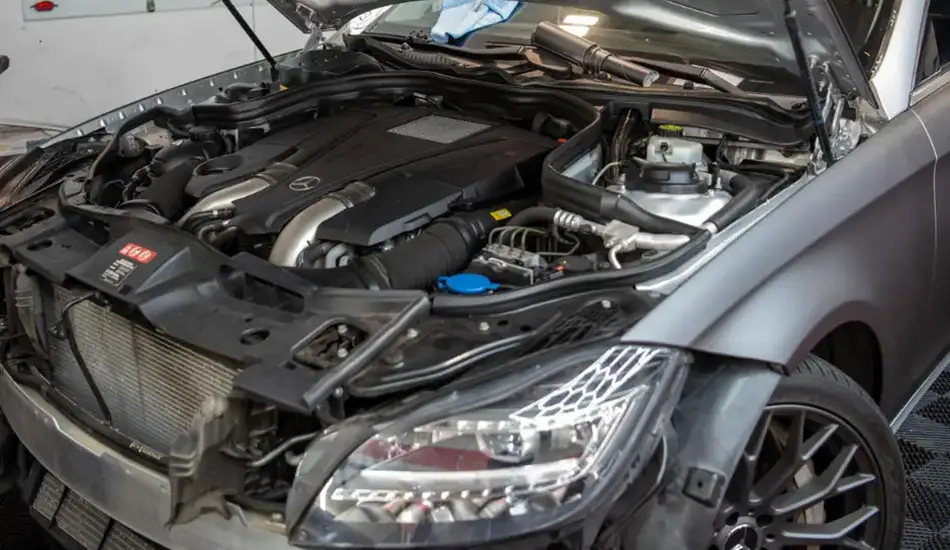
2019 Mercedes-Benz AMG GT C Black
This 2019 Mercedes-Benz AMG GT C rolled into the shop, ready for an agressive new look.
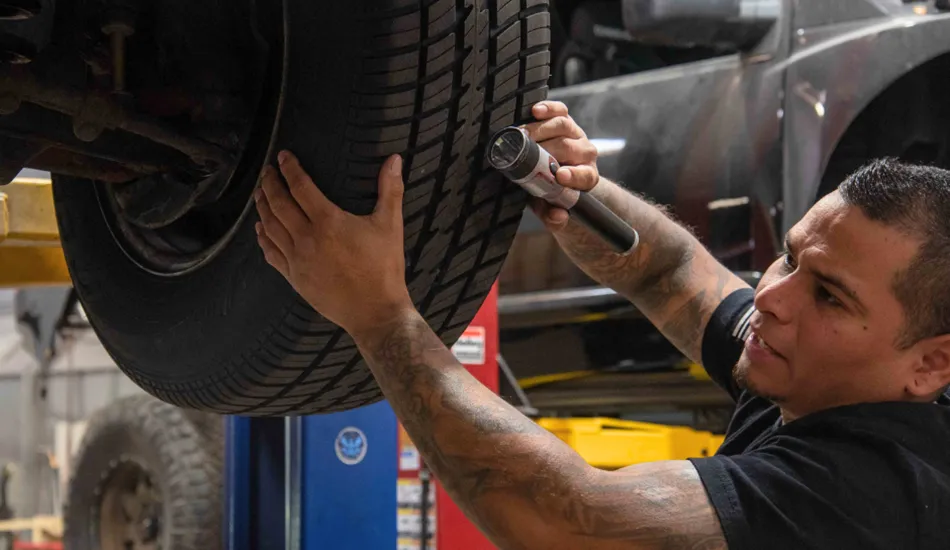
Maintenance And Repairs
If you’re getting your vehicle upgraded but it needs some fixes first, don’t worry; we’ve got you covered.
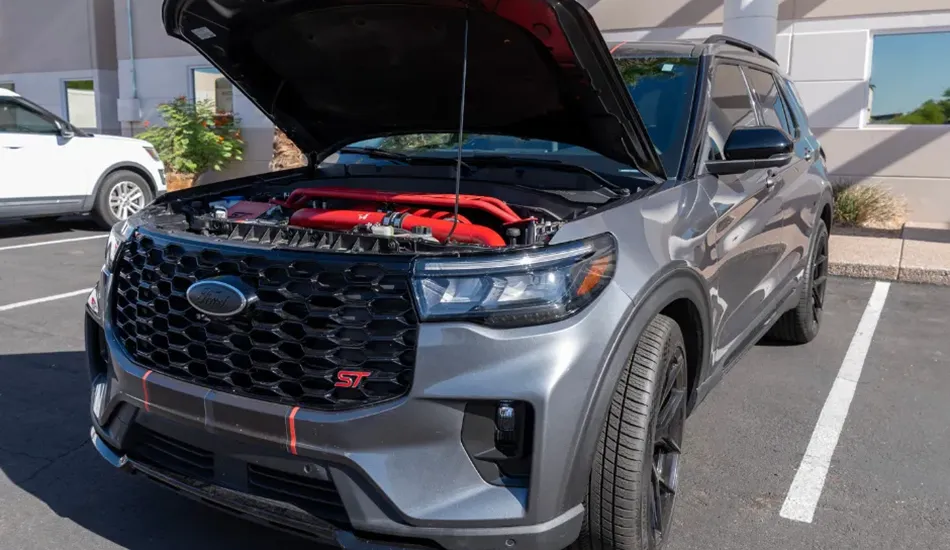
2025 Ford Explorer ST Gray
This build was all about improving performance while elevating the engine compartment.
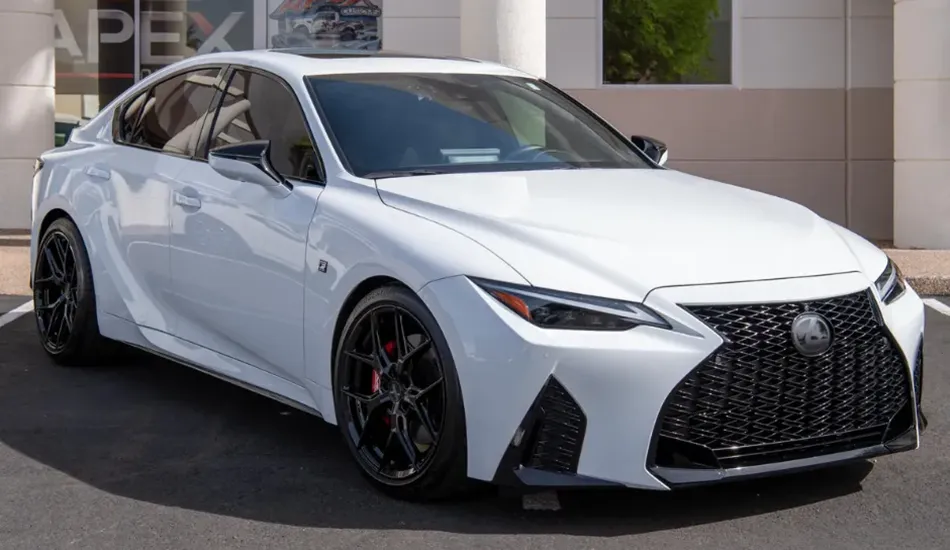
2024 Lexus IS350 F Sport Design White
De-chromed in gloss black, red calipers, Borla exhaust, Eibach suspension, and a Takeda intake to wake it up.
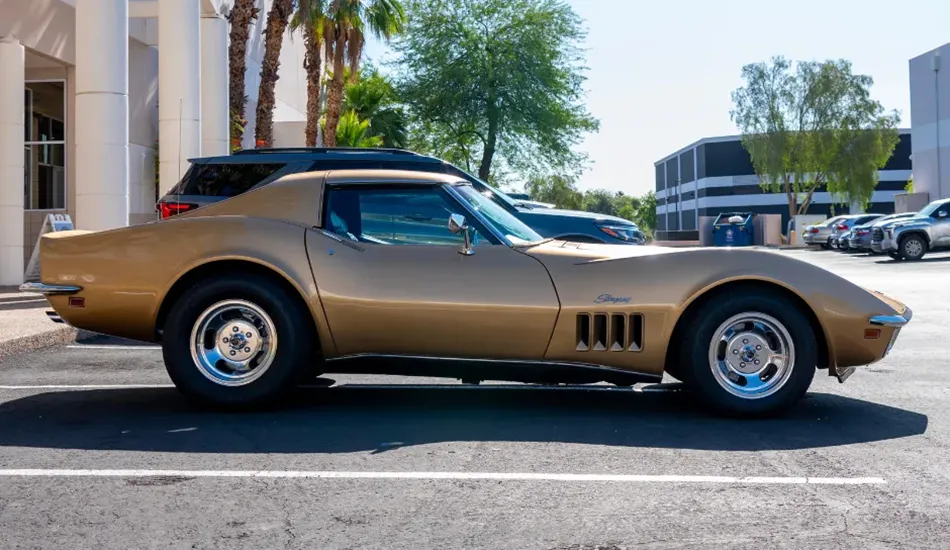
1969 Chevrolet Corvette Gold
Classic muscle doesn’t need to be reinvented, it just needs to be brought back the right way by Apex Customs.